Hello World Next.js Site for Beginners
Next.js is a popular framework built on top of React. It handles several functionalities required for a web app, like routing, server-side rendering, and APIs. Having said that, how easy is it to create a simple website using Next.js? Let us see in this article.
Node Version
We need Node.js to run a Next.js website. In order to run a site with php files, we need a PHP engine in our server. Only that engine can execute .php files and respond back HTML to the user. Just like that, the Next.js framework executes JavaScript on the server. For that we need a JS engine which can parse and execute JavaScript on the server. And that is the role of Node.js.
We can check if Node.js is installed on our machine by typing the following command in the terminal.
node --version
If Node.js is installed, the above command prints the installed version number in the terminal, like v14.15.0. The version number should be greater than v10.13.0 to run Next.js.
If we do not have Node.js, we can download it from nodejs.org and install it.
We can also install Node.js using NVM. It allows you to install multiple versions of Node.js on the same machine. Whenever required, it is very easy to switch between the versions.
Project Setup
First we need to decide the directory in which we are going to store our Next.js project. I store all my projects under Documents/projects. I am using macOS. You can select any directory of your choice.
Next, navigate to that directory in the terminal.
cd ~/Documents/projects
We do not have to create a folder for our Next.js project. That will be created in the following steps.
Staying in the chosen directory, execute the following command.
npx create-next-app
npx is a global command installed along with Node.js software. It helps to download and run a package in one step. Before npx, we had to install a package globally and then run it. In that case, we had to deal with permission-related issues. npx also ensures that the latest package is used while executing.
create-next-app is an interactive package. It will take the app name as input to configure and set up our Next.js project.
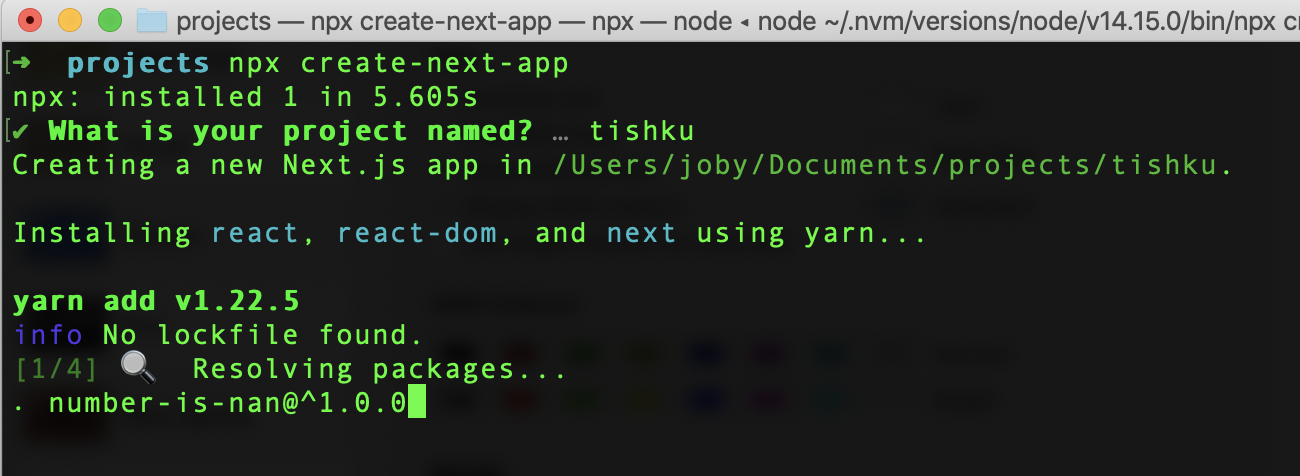
I gave the project name as tishku. Therefore, a folder tishku is created under the projects folder. The tishku folder contains a Next.js boilerplate code.
Run the Application
Now our Next.js app is created. We can change to the project folder in the terminal.
cd tishku
Then we can run the application by executing
npm run dev
This command will run our Next.js application in development mode. By default, the app can be accessed at http://localhost:3000. When we open the link, it looks like this:
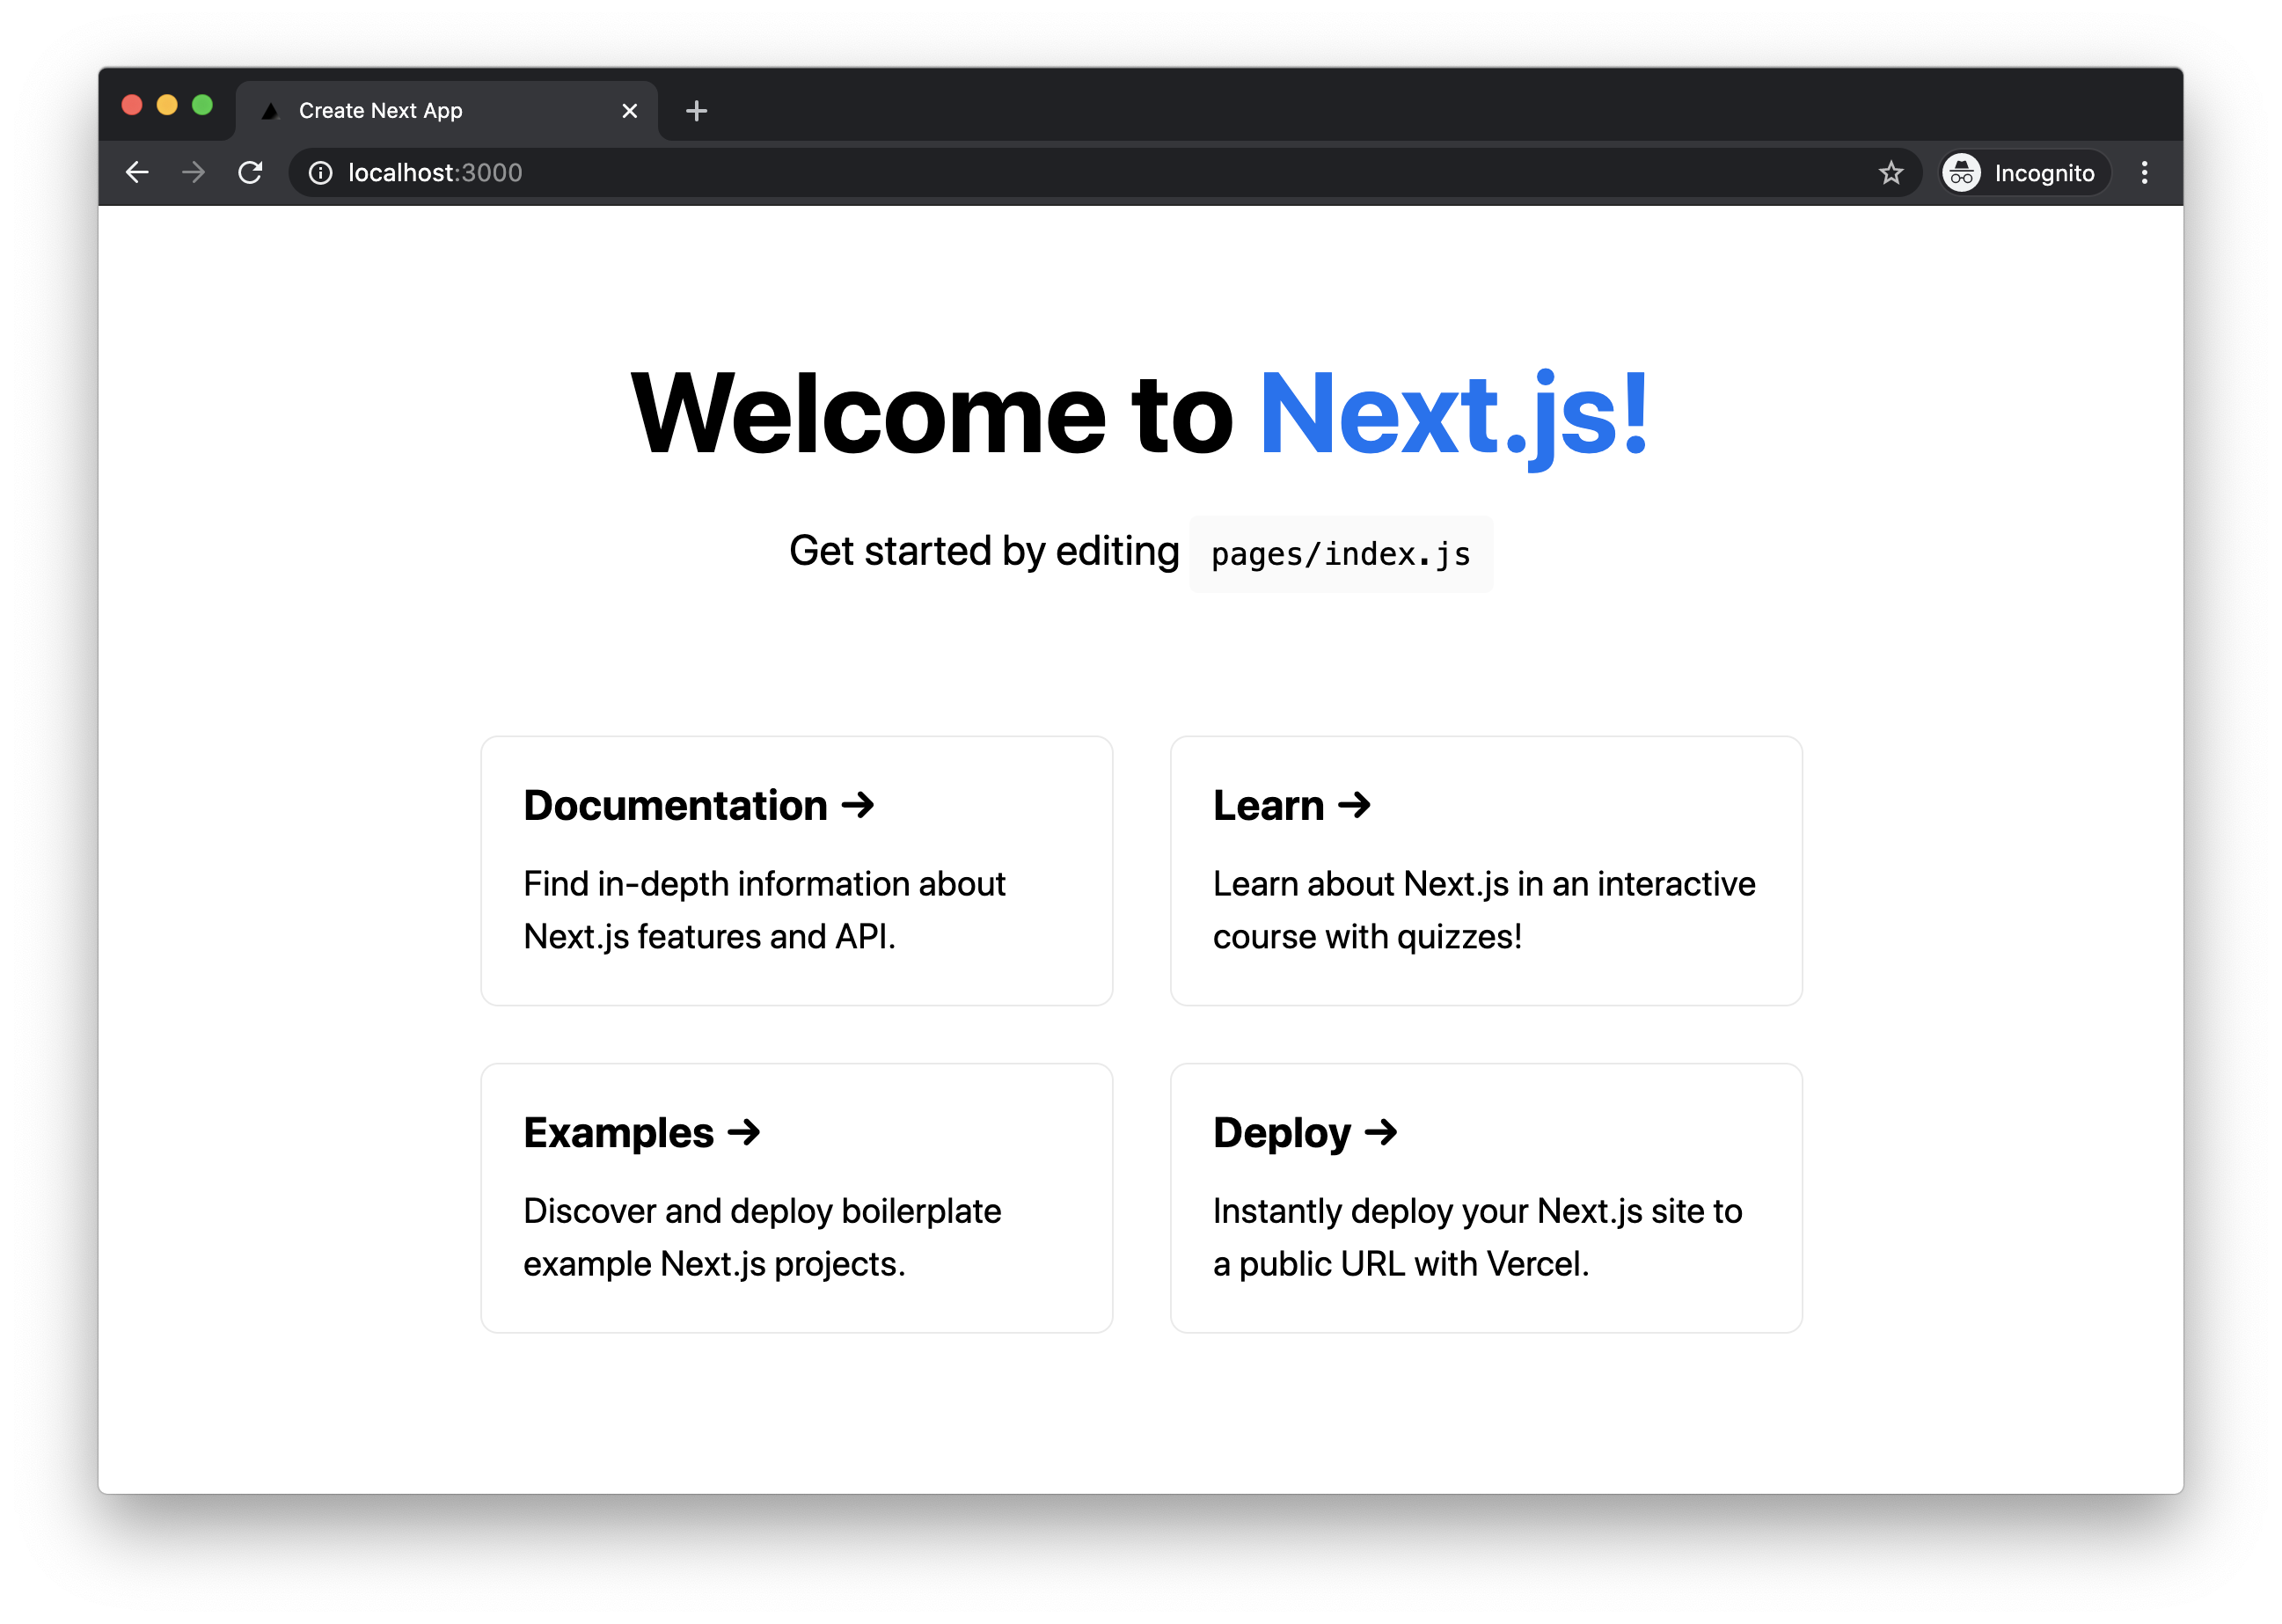
Awesome! We just set up and ran a Next.js app. The home page we are seeing is actually taken from pages/index.js. We can edit that file and play around.